How to organise your desktop
Is there such thing as a mid-year resolution? Well, there might just be a reason to get organised for the new financial year (whether you follow that or not, it’s a good excuse!).
If there’s one thing that can cause even the most minor anxiety, it’s the thought of cleaning your computer desktop. All those screenshots you’ve taken, photos you’ve uploaded or downloaded, and docs saved and dumped on the desktop when you have no where else to save them…
It’s time to feng shui your desktop and make laptop life that little bit calmer. A clear space always means a clearer mind so it should extend to the first thing you see at your desk in the morning!
How to organise your desktop:
Use Stacks
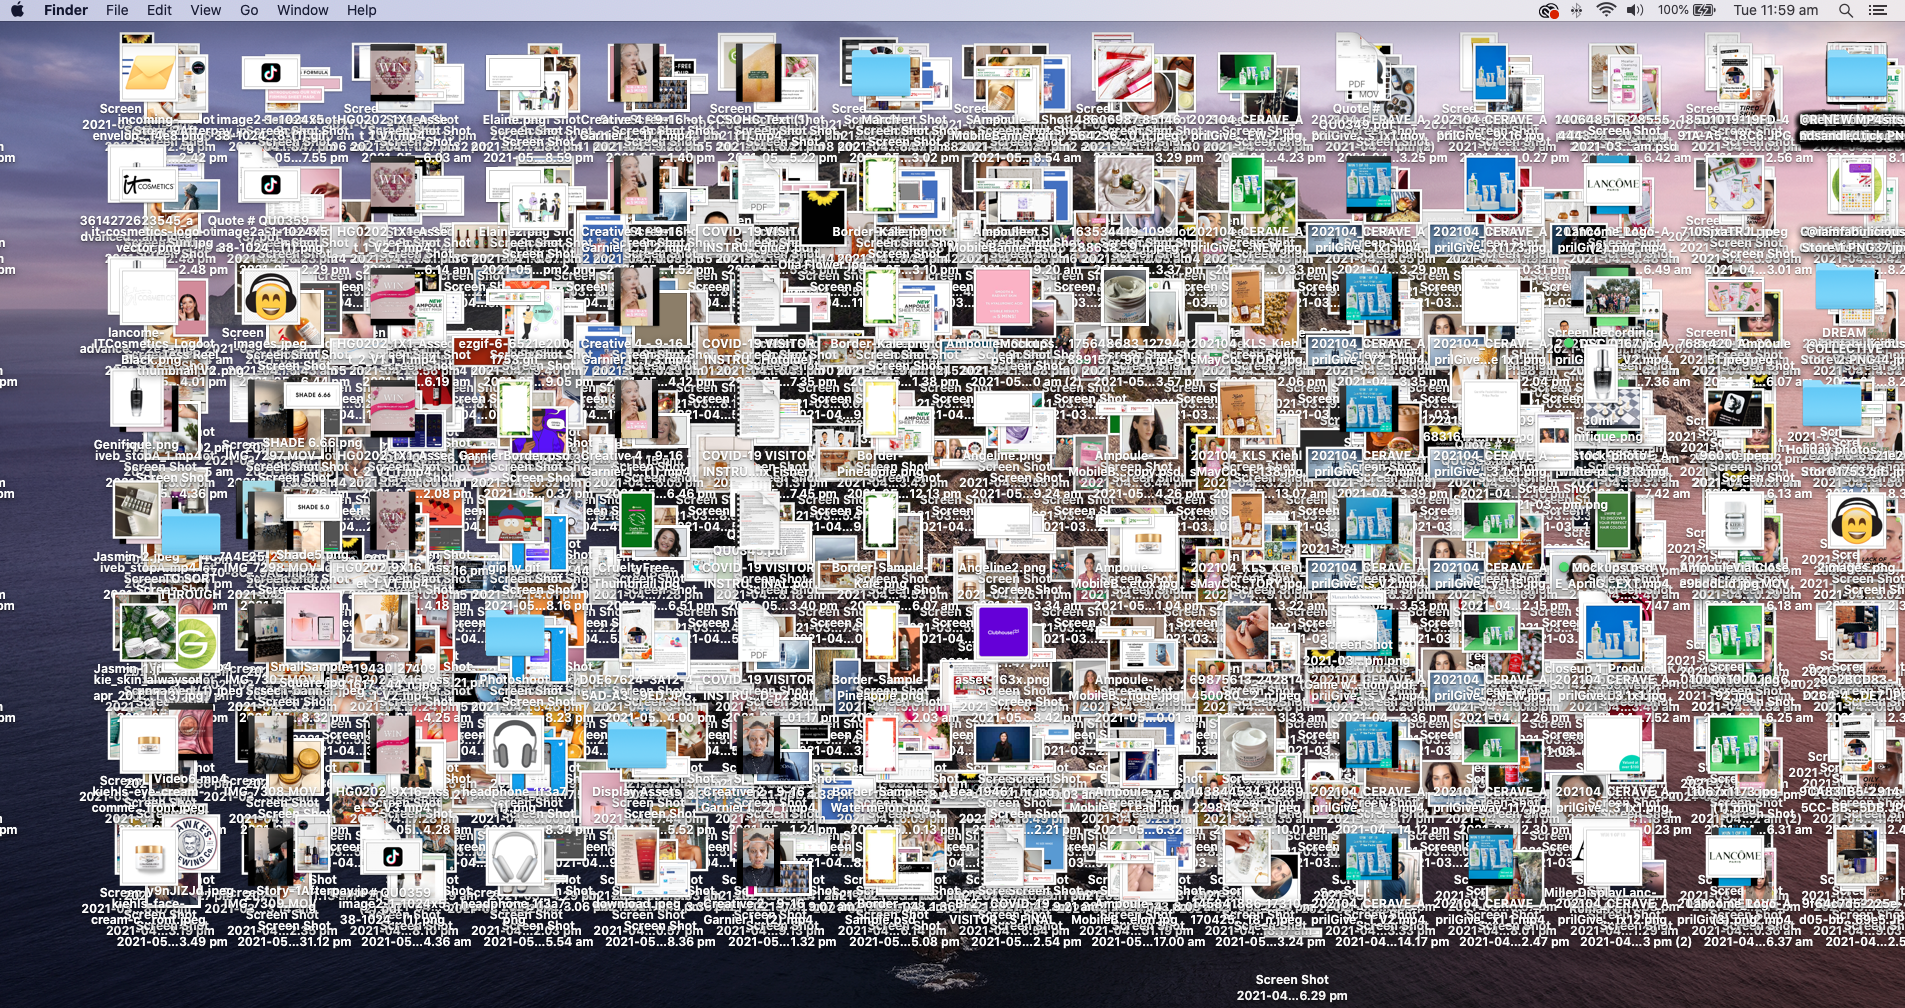
There were revelations for some of us in the office recently that your entire desktop can be organised by the computer gods in about two seconds. See below for an example of Account Director, Bea’s screen! 😰
Before: what some desktops can look like with screenshots and files being auto-saved here.
Right click on your Mac desktop to use Stacks.
On a Mac, right click on the desktop and simply select Use Stacks. If your desktop is chockers with files, then it might take a few seconds longer but the end result is so satisfying.
Stacks is basically just organised folders that your computer decides on based on the file type. For example, all screenshots get put into a group called Screenshots; all photos (i.e. JPGs) get placed into one called Photos. No more scattered files all over the desktop — they’re all in one place.
After: How your desktop can be organised with Stacks (the “piles” on the right hand side).
2. Create your own folders
Of course, you can always create your own folders on the desktop to further organise what the computer doesn’t, or to reorganise what it has done for you. Separate personal and work files, upload photos or collate a folio of work to have on hand.
3. Clean up
Formerly called Snap to Grid, Clean Up simply arranges your desktop filed into a neater looking grid so there is less overlapping.
Clean Up your desktop to neatly arrange the files.
If you’re not completely ready to have a blank desktop screen, then this is the solution for you!
More tips to clean up your computer:
1. Inbox Zero
This is something our co-founder, Nick, advocates strongly for: the empty inbox. He wrote out his steps on how to clean out your inbox and most importantly, keep it that way!
2. Use the bin
Seeing a lot of unnecessary things clogging up your desktop or computer drive. Just👏🏼drag👏🏼them👏🏼into👏🏼the👏🏼bin. And then empty the bin to forget all about them.
Super cathartic (but also fast and loose).
3. Close tabs
More open tabs = more energy and battery that your computer uses. If you’re worried about losing them, bookmark them! Otherwise, there’s also a great app called Pocket which you can use to save all your favourite links and also categorise them.
4. Shut it down
We all need to sleep and your computer really isn’t any different. If you can get away with shutting down and closing your laptop every night, then do so. Leaving programs open and running in the background affects your computer’s battery life in the long run.
Other top organisation hacks for your work life:
How to manage your mental health while working from home


